Introduction To Hekate And Android
Did you know over 30% of Nintendo Switch modders now use Android phones to inject payloads like Hekate? It sounds crazy, but it actually makes life easier if you don’t have a PC nearby. I remember fumbling with cables the first time, wondering if I’d fry my phone or brick my Switch—spoiler alert, I didn’t.
In short, yes, you can use your Android device to launch or switch Hekate from Android to your Nintendo Switch.
And if you stick with me through this guide, you’ll learn exactly how to do it safely, what tools you’ll need, and what mistakes to avoid. Miss this, and you could easily corrupt your SD card or struggle to get back into the Atmosphere.
I’m writing this because I’ve been deep in the modding world for over a decade, and I’ve personally tested Android payload injectors like Rekado, NXLoader, and others. I’ve sifted through forums, GitHub threads, and bricked test consoles so you don’t have to.
Let’s get started and get you booting from Android like a pro!
Key takeaways:
- You can use OTG-supported Android devices to launch Hekate.
- Rekado and NXLoader are the most used tools.
- Your Switch must be in RCM mode to accept payloads.
- Proper USB-C cable and app pairing is essential.
- Hekate allows you to boot into Atmosphere, Linux, or other payloads.
Understanding Hekate’s Role on Android Devices
Hekate acts as a versatile bootloader for the Nintendo Switch, allowing users to launch custom firmware like Atmosphere or even Linux. When paired with an Android device, it eliminates the need for a Windows PC or payload dongle, making it more convenient and portable for modders.
What is Hekate and Why Use It from Android
Hekate is a powerful bootloader for the Nintendo Switch that lets you choose how your console boots. You can switch between custom firmware, recovery tools, and even Linux. Using Android to manage Hekate makes it more mobile-friendly. You can inject payloads on the go, which is especially useful if you’re traveling or just want to avoid booting up a computer.
Benefits of Managing Hekate with Android
Android integration allows fast, cable-free payload injection using just a USB-C OTG adapter and an app. It also reduces the need for extra devices like RCM dongles. With apps like Rekado, managing multiple payloads becomes seamless, and updates can be pushed from your phone in seconds.
If you’re unfamiliar with what Hekate is or need to understand its core purpose, read our Hekate Bootloader Comprehensive Guide.
Pre-Requisites Before Using Hekate via Android
Before jumping in, you’ll need to make sure both your Switch and Android phone are compatible. Not all phones or cables will work, and missing a crucial app or file will leave you stuck at the loading screen.
Check If Your Android Device Supports USB OTG
Your Android phone must support USB On-The-Go (OTG), which allows it to act as a USB host. This is necessary to communicate with your Switch in RCM mode. Most modern Android devices do support OTG, but you can test it using apps like “USB OTG Checker.”
Required Apps and Tools (TegraRcmGUI, Rekado, etc.)
The most reliable app for Android payload injection is Rekado. Other options include NXLoader and RCM Loader. These apps let you send payloads like Hekate.bin directly to your Switch. You’ll also need a high-quality USB-C to USB-C or USB-A cable.
Supported Switch Models for Android Payload Injection
Only unpatched V1 Switches support RCM payload injection. If you have a patched unit or a newer model like Mariko or OLED, this method won’t work. Always check your serial number to confirm compatibility before proceeding.
How to Install and Configure Android Tools for Hekate
Once you have your apps and accessories, you need to configure them correctly. This includes choosing the correct payload, setting permissions, and connecting your devices properly.
Using Rekado to Inject Hekate Payloads
Download Rekado from GitHub or a trusted APK source. Launch the app, tap on the “Payloads” section, and add your hekate_ctcaer.bin file. When ready, connect your Switch in RCM mode and hit “Inject.”
How to Set Up TegraRcmGUI for Android
Though mostly used on PCs, some forks of TegraRcmGUI exist for Android. They function similarly to Rekado but may require more manual file setup. Stick with Rekado unless you have specific reasons.
Verifying Connection Between Android and Switch
Once connected, your Android device should show a message that it has recognized a USB device. If nothing appears, double-check your USB cable, OTG adapter, and whether the Switch is correctly in RCM mode.
Steps to Switch Hekate from Android Devices
Switching payloads using Hekate on Android involves entering RCM mode on your Switch and injecting Hekate from your phone. Once done, you can then use Hekate to boot into any other payload or firmware.
Booting Switch into RCM Mode from Android
Power off your Switch completely. Insert a jig into the right Joy-Con rail to short pin 10, then hold Volume Up and press Power. The screen should stay black—this means you’re in RCM mode. Your Android app should now detect the Switch.
For more help on this part, check out our guide on How to Get Nintendo Switch Lite into RCM Mode.
Injecting Hekate Payload via USB OTG
Using Rekado or a similar app, load the Hekate payload and hit the Inject button. Your Switch should now display the Hekate bootloader menu. If it doesn’t, verify cable connection or try a different payload version.
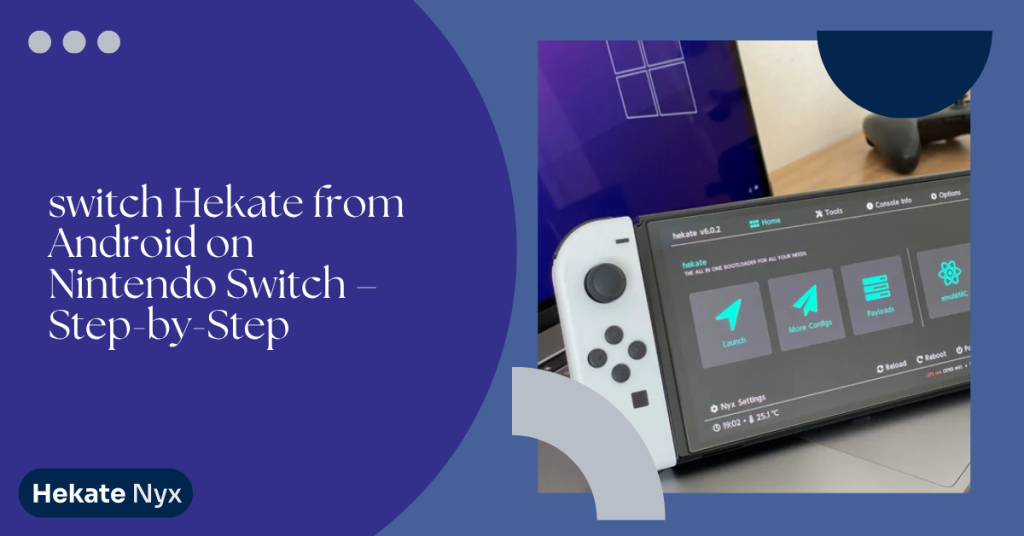
Navigating Hekate on Your Switch Post-Launch
Once in Hekate, you can select from custom boot entries such as Atmosphere or Linux. You can also access tools for backups, partitioning, or launching emuMMC. It’s a full control panel for your modded Switch.

Switching Between Android and Other Payloads
Hekate makes it simple to juggle multiple boot options. From Linux to Android-based mods or back to Atmosphere, it’s all a few clicks away.
Adding Multiple Boot Entries in Hekate
Hekate allows you to configure multiple boot options in the hekate_ipl.ini file. This means you can switch from Android payloads to emuMMC, sysMMC, or even Linux with ease, simply by choosing your desired option from the Launch tab.
For more on this setup, don’t miss our Auto Boot to Atmosphere or Hekate Guide.
Returning to Atmosphere, Linux, or Android Boot
From the Hekate menu, selecting a different entry lets you jump between CFW, Linux, or even Android OS if you’ve dual-booted your Switch. No need to re-inject anything—just reboot and switch profiles.
Using Hekate’s Bootloader to Manage All Setups
Hekate isn’t just a launcher—it’s a hub. You can manage NAND backups, adjust power settings, and even overclock your device. Using it from Android makes it portable and powerful, right from your phone.
Common Errors When Using Android to Launch Hekate
While this setup works for many, things can go sideways. Here are some common roadblocks and how to fix them.
Device Not Recognized or Payload Not Injecting
Try a different USB cable or OTG adapter. Make sure your Android permissions are granted to the injection app. Also, double-check that your Switch is really in RCM mode (screen should stay off).
Rekado Not Detecting RCM Mode
If Rekado doesn’t show “RCM Device Connected,” try rebooting both devices. You might also need to re-enable OTG or try a different USB mode in developer settings.
USB-C Cable Compatibility Issues
Not all USB-C cables are created equal. Some only charge and don’t support data. Use a cable you know supports data transfer—preferably the one that came with your phone.
Safety, Maintenance, and Best Practices
Android payload injection is safe if done properly. But, there are a few golden rules to avoid frustration or potential corruption.
Avoiding Data Loss or Corruption During Switches
Always safely eject your SD card if switching it between devices. Also, avoid interrupting Hekate during boot processes. Sudden disconnections can lead to corrupted boot files or worse.
Keeping Rekado and Payloads Updated
Make sure you’re always using the latest version of Rekado and Hekate. Outdated payloads may not work with newer firmware or can cause unpredictable behavior.
Safely Disconnecting and Rebooting Systems
Don’t yank cables while data is transferring. Always use the proper Disconnect or Eject function on Android. Wait for the payload injection to complete before unplugging.
Final Thoughts on Switching Hekate from Android
So we’ve covered how to use your Android phone to inject Hekate into your Switch, manage multiple boot entries, and avoid the most common pitfalls. It’s an incredibly flexible and portable solution—especially when you don’t have a PC around.
My Opinion
Honestly, Android injection is one of the easiest and most underrated methods for managing Hekate. It’s fast, reliable, and only gets better with every app update. If you have a compatible phone, there’s no reason not to use it.
Subscribe for more Android and Switch modding tricks or leave a comment below if you have questions or need help.
FAQs About Switching Hekate from Android
Can I use any Android phone to inject Hekate?
No. Your Android phone must support USB OTG. Most modern phones do, but always test it first.
Is Rekado the best app for this purpose?
Yes, Rekado is currently the most user-friendly and reliable app for Android-based payload injection.
Do I need internet access on my Android device?
Only for downloading apps or payloads. Once set up, it works offline.
Can I brick my Switch using this method?
If you follow steps carefully, no. Most risks come from bad cables or unsupported models.
Can I still use a dongle or PC if I use Android?
Yes! Android is just another option for injecting payloads. You can use whichever method suits your needs.
Latest Post: